
Q: How to activate the sensor to make the phone react at motion?
A: Go to Menu > Setting > Phone > Sensor Settings


Click 'Setup'
 Select the hand phone Removable Drive, than click Install; i.e: 'Removable Drive F:'
 Click 'Done'
 Select the hand phone Removable Drive, than click Install.
 Click Done
 Click 'Setup'.
  Select the hand phone Removable Drive, than click Install.
 Files copying in progress...
 Click Done
 Select English > OK
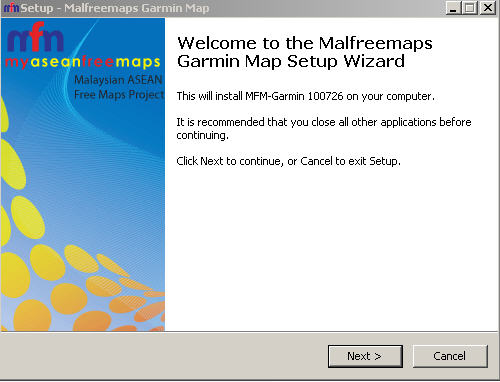 Click Next >
  Select 'I accept the agreement' > Next >
 Use the default for Select Destination Location > Next >
 Select Custom Polygons... > Next >
 Click Install
 Installing...
 Click Yes on 'Do you wish to create a gmapsupp.img?'
  Click Generate Map
 Click Yes on 'Proceed to generate gmapsupp.img with above options?'
 Click Yes. Select Garmin folder on handphone
 Click OK
 Click Finish.