Sunday, February 12, 2017
Install Disk Creator - Mac OS X
ABOUT
Disk Creator used to assist of creating Mac OS X bootable installer
1. Download Disk Creator installer from:
https://macdaddy.io/InstallDiskCreator.zip
2. Double click on 'InstallDiskCreator.zip'.
3. mv Install Disk Creator.app /Applications/
4. Finder > Applications.
5. Double click on 'Install Disk Creator.app'
URL: https://macdaddy.io/install-disk-creator/
Saturday, December 31, 2016
Upgrade OS X El Capitan to macOS Sierra
REMARK: Always perform full backup before upgrade
1. App Store > Search 'macOS Sierra'.
2. Click DOWNLOAD button under 'macOS Sierra'. Wait for downloading of 4.95GB to complete.
3. Launchpad > Click 'Install macOS Sierra'.
4. Click 'Continue'.
5. Click 'Agree'.
6. Click 'Agree'.
7. Click 'Install'.
8. Enter MacBook administrator user password > Click 'Add Helper'.
9. Installation in progress.
10. Click 'Restart'.
11. Click 'Close Other Applications...'.
12. MacBook will be restarted and installation in progress.
13. Select 'Don't sign in' > Click 'Continue'.
14. Uncheck 'Enable Siri on this Mac' > Click 'Continue'.
15. To verify, click on 'Apple' icon > About This Mac
Tuesday, October 25, 2016
Install Gboard on iPhone 6s
What is it?
Gboard by Google currently available for iPhone. This cool keyboard offer GIFs, emojis, and Glide Typing + Google Search built in.
Steps
1. App Store > Search > Gboard > GET
2. OPEN > GET STARTED
3. Settings > General > Keyboard > Keyboards
4. Add New Keyboard... > Gboard
5. Gboard > Allow Full Access > Allow
Thursday, June 16, 2016
Setup iPhone 6s: Restore from iTunes backup for iPhone 5
2. Power on and Plug in iPhone 6s using Lightning to USB Cable
3. On Hello > slide to set up
4. English > Malaysia
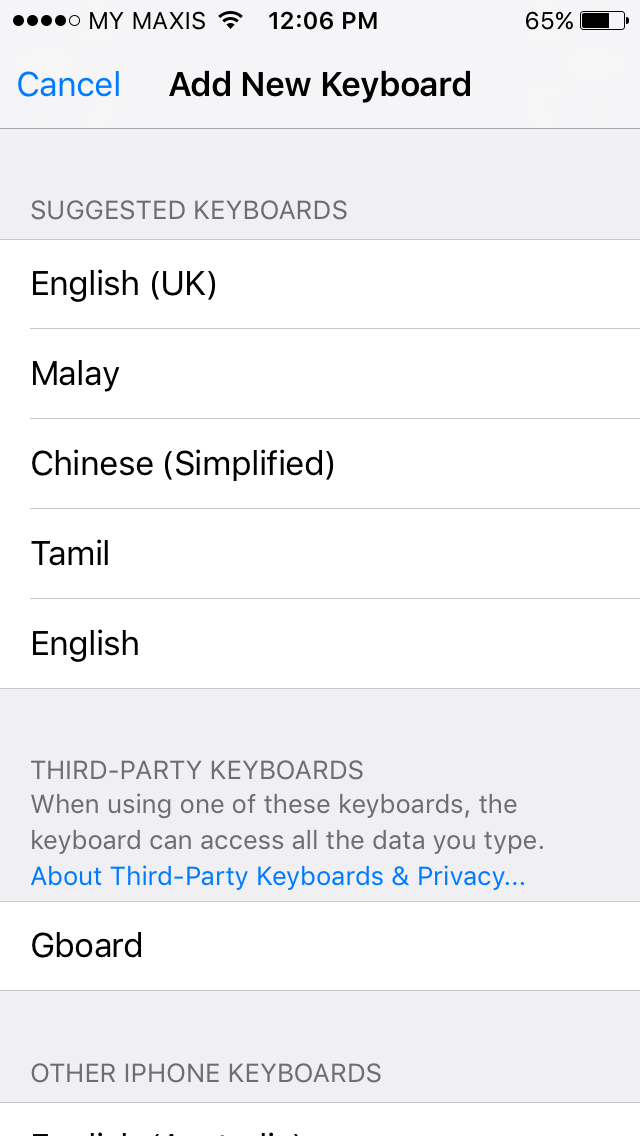
5. Keyboards > Next
6. Choose a Wi-Fi Network > Select the Wi-Fi SSID
7. Enter Password > [PASSWORD] > Join
8. Location Services > Disable Location Services > OK
9. Touch ID > Set up Touch ID Later > Continue
10. Create a Passcode > Passcode Options > 4-Digit Numeric Code > [PASSCODE] > [RE-ENTER PASSCODE]
11. Apps & Data > Restore from iTunes Backup
12. On PC iTunes > Restore from this backup: [NAME-iPhone] > Continue
13. Check 'I have read and agree ...' > Continue
14. Restoring iPhone from backup... > Once done, iPhone 6s will restart
15. slide to upgrade > Enter passcode
16. Hello > slide to set up > Enter passcode
17. SIM Locked > Unlock > Enter PIN
18. Update Completed > Continue
19. Choose a Wi-Fi Network > Select the Wi-Fi SSID
20. Enter Password > [PASSWORD] > Join
21. To finish setting up iCloud,... > Skip This Step
22. Are you sure? > Skip
23. Diagnostics > Don't Send
24. Display Zoom > STANDARD > Next
25. Welcome to iPhone > Get Started
Upgrade iPhone 5 to iOS 9.3.2
WARNING: Before perform the update, always perform phone backup! The author will NOT be held responsibility under any circumstances.
PRE-CHECK LIST
1. Make sure the phone battery is fully charged or connect to direct power source (recommended).
2. 'Wi-Fi' is connected to download the iOS 9 package.
3. Full iPhone 5 backup using iTunes.
4. Once backup completed, disconnect the phone.
UPDATE!
1. On iPhone 5, To view installed version:
Settings > General > About. Look for Version: 8.1
2. Settings > General > Software Update
3. Install Now > Enter Passcode > Agree > Agree > Verifying update...
4. iPhone reboot > upgrade on progress
5. Once finish, it'll reboot.
6. Hello > slide to set up
7. Enter passcode > SIM Locked > Unlock > Enter PIN
8. Update Completed > Continue
9. Location Services > Disable Location Services > OK
10. To finish setting up iCloud, ... > Skip This Step > Skip
11. iCloud Drive > Turn off iCloud Drive > Continue
12. Diagnostics > Don't Send
13. Welcome to iPhone > Get Started
Subscribe to:
Posts (Atom)


